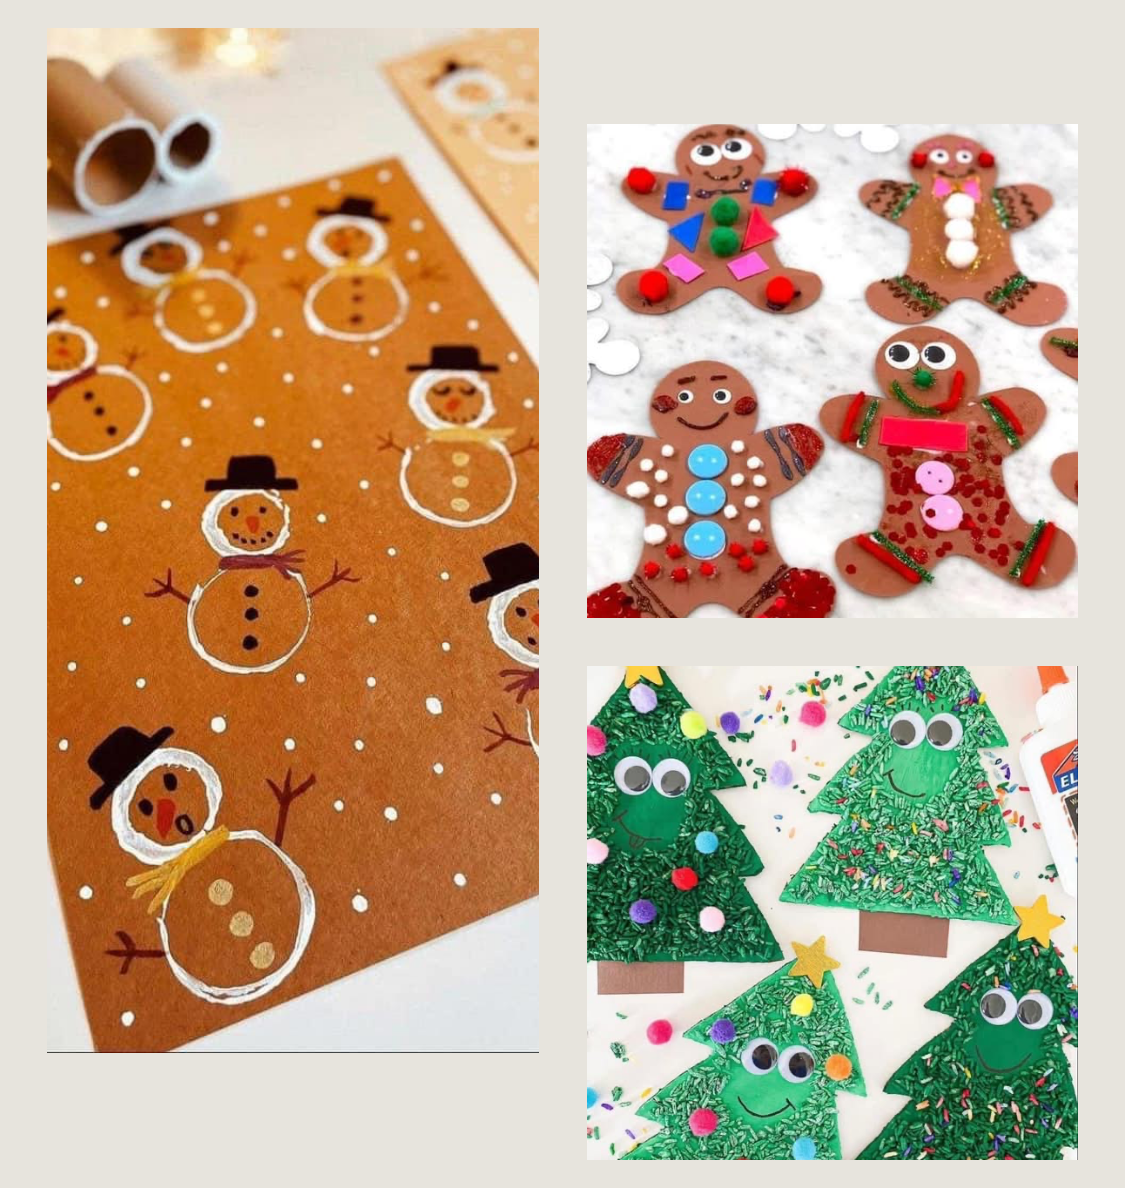
Welcome to the wonderful world of crafts, where creativity knows no bounds! Whether you’re looking for a fun way to spend an afternoon with your little ones, seeking a crafty project to spark their imagination, or doing a DIY project yourself, you’ve come to the right place. Crafting is not just a way to pass the time – it’s an exciting adventure that helps children and adults develop important skills like problem-solving, fine motor coordination, and teamwork. In this blog, we’ll explore a variety of easy, entertaining, and colorful craft ideas that are perfect for all ages. So grab your glue sticks, scissors, and some paper – let’s dive into the world of fun and creative crafts!
1. Fun Paper Snowflake
This fun twist on a classic craft brings a fresh, earthy vibe to your holiday decor! These paper bag snowflakes are a fun, eco-friendly way to transform your home into a cozy, rustic gift shop. The natural brown paper creates a warm, rustic charm that’s perfect for the season. Set the mood by lighting some balsam candles, play your favorite holiday tunes, and get ready to unleash your creativity with a glue gun. Whether you’re crafting solo or involving the whole family, these snowflakes will add a unique, handmade touch to your home this holiday season. Let’s dive into the process and start making some festive magic! TIP: You have to use 10 paper bags for it to work. I think the video only shows her using 5.

Here’s a picture of the one my son and I made, it came out pretty cool!
2. Festive Clay Leaf Bowls
Transforming clay into beautiful, nature-inspired pieces is a perfect way to bring a touch of autumn or spring into your home. One of the easiest and most stunning projects to try is creating a clay leaf bowl. This simple yet elegant craft allows you to capture the intricate details of real leaves while crafting a functional and decorative piece. Whether you use it to hold jewelry, trinkets, or simply as a statement piece on your coffee table, a clay leaf bowl adds a handmade, earthy charm to any space.
Materials Needed:
- Air-dry clay or polymer clay
- A leaf (fresh or artificial)
- Rolling pin
- Bowl (for shaping)
- Clay tools or a butter knife (optional)
- Paint (optional, for decoration)
Steps:
- Roll Out the Clay: Start by rolling out your clay to about 1/4-inch thickness. If you’re using air-dry clay, make sure it’s soft and workable.
- Press the Leaf: Take your leaf and gently press it onto the rolled-out clay. You can use your fingers or a rolling pin to get a detailed imprint. Make sure the leaf is fully embedded in the clay for a nice texture.
- Cut Around the Leaf: Using a craft knife or clay tools, carefully cut around the shape of the leaf to create the base of your bowl.
- Shape the Bowl: Gently lift the clay and drape it over a small bowl or any round object that will serve as your mold. This gives the clay its bowl shape. Smooth the edges and make any adjustments as needed.
- Let It Dry: Allow the clay to dry completely if you’re using air-dry clay. If you’re using polymer clay, bake it according to the package instructions.
- Paint and Finish (Optional): Once dry, you can leave the clay bowl as is for a rustic, natural look, or you can paint it to add color and detail. Gold or metallic paint looks great on the edges to give it a touch of elegance.
This simple yet beautiful craft is a wonderful way to bring the outdoors inside, while creating a functional piece of art! Plus, it’s a perfect project for kids, friends, or family members to do together. Enjoy the creative process, and don’t forget to showcase your handmade leaf bowl for all to admire!
Here’s a video to give you a visual:
3. Adorable Fall Tree Craft
This fall tree craft is not only easy and fun to make, but it also gives kids (or adults) a chance to play with colors while celebrating the season. Enjoy crafting your adorable fall tree!
4. Holiday Decor Ideas to Brighten your Refrigerator


5. Hand-Painted Rock Penguins (Winter/Christmas)
These penguin painted rocks are one of my personal favorite winter rock painting ideas! Using rocks of different sizes, you can make an little family of penguin rocks. So cute and easy!

Painting rocks is a soothing activity and it’s a good craft to do with kids of multiple ages. I like this penguin design because it is simple enough for small kids and you only need a few different colors of paint.
Use these penguin painted rocks as part of a winter theme or as unique and easy Christmas painted rocks, if you’re looking for something different than the usual Santa or reindeer, etc.
Materials: Small smooth rocks, black, white, and orange paint, and a magnet.
Instructions: Paint rocks to look like penguins by using black for the body, white for the belly, and orange for the beak and feet. Once dried, glue a magnet to the back to display your cute penguins on the fridge!
6. Clothespin Reindeer Ornament
How stinking cute are these reindeer ornaments! You can grab all the supplies at your local dollar store. These are fun to make for the whole family. Have your kiddos make them as gifts for Grandma & Grandpa, Auntie or Uncle, even a friend from school. We have yet to make this one but I’ll post a pic when we do!


